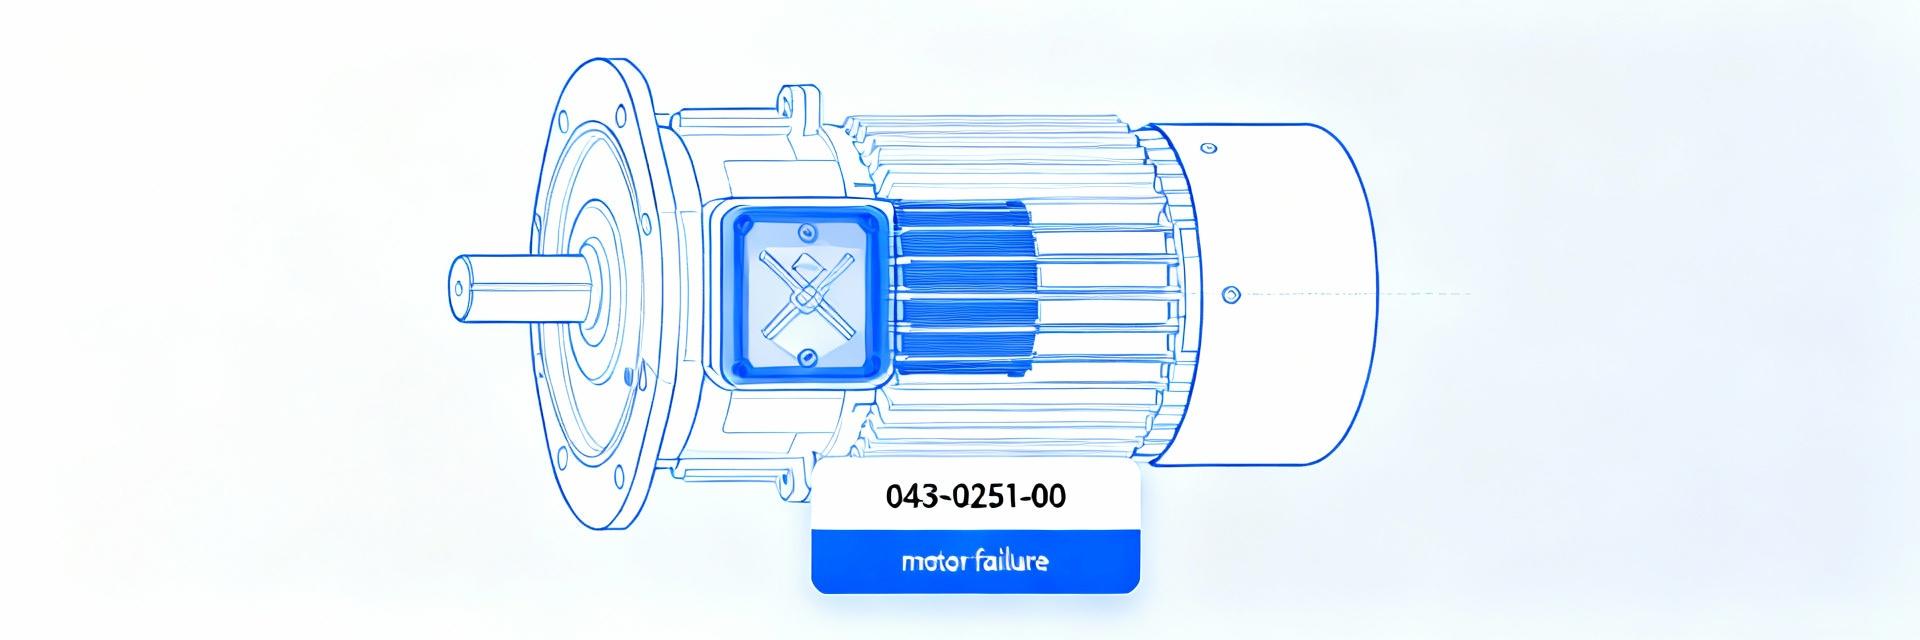
Technical Breakdown: Part 043-0251-00
Field service and parts-replacement logs across multiple US HVAC fleets show condenser fan motor stoppages and degraded performance as a leading cause of outdoor-unit downtime. A focused analysis of units using part 043-0251-00 reveals repeat failure clusters tied to electrical stress, contamination, and mechanical wear. This report presents technician-focused diagnostics and actionable repairs to minimize repeat service visits.
The objective is to provide field technicians with a reproducible workflow that reduces unplanned downtime and improves the Mean Time Between Failure (MTBF).
Background: Role and Typical Specifications
Function & System Impact
The condenser fan motor drives air across the condenser coil, enabling heat rejection that controls head pressure and refrigerant condensing temperature. Failure leads to:
- ▶ Elevated compressor discharge pressure.
- ▶ Increased compressor loading and energy spikes.
- ▶ Risk of liquid slugging and shortened component life.
Technical Specification Checklist
| Part Number | 043-0251-00 |
| Metrics to Log | Voltage, FLA, RPM |
| Hardware | Shaft orientation, Mounting |
| Electrical | Lead wires, Cap rating |
Data Analysis: Failure Patterns & Indicators
Root Cause Distribution (Estimated Field Metrics):
Environmental & Operational Correlations
Key correlations identified include high ambient temperature spikes, salt/particulate exposure, and voltage instability. Monitoring running amps, vibration envelope, and capacitor health allows for predictive intervention before catastrophic failure occurs.
Diagnostic Workflow: Step-by-Step Tests
⚡ Electrical Procedures
- Perform Lockout/Tagout (LOTO).
- Verify supply voltage at motor terminals.
- Measure running amps against nameplate FLA.
- Test run/start capacitor with a meter.
- Check winding resistance and insulation integrity.
⚙️ Mechanical Checks
- Inspect bearings for audible noise or physical play.
- Confirm shaft alignment and blade condition.
- Perform "Spin-by-Hand" test when isolated.
- Check for radial/axial play exceeding thresholds.
- Clear debris and check for blade balance issues.
Root Cause Breakdown
Electrical Root Causes
Failures typically involve winding shorts, failed capacitors, or undervoltage overheating. Symptoms: Intermittent operation, rising amps, or burned insulation odor. Immediate action: isolation and replacement.
Mechanical Root Causes
Stem from bearing seizure, blade strikes, or corrosion. Symptoms: High-frequency noise, increased vibration, or visible deformation. Action: Bearing replacement or full unit swap if integrity is lost.
Repair vs. Replacement Decision Matrix
| Condition Observed | Recommended Action | Decision Criteria |
|---|---|---|
| Failed Capacitor / Loose Wiring | Field Repair | Age |
| Worn Bearings (Early Stage) | Replace Bearings / Lubricate | Housing sound; shaft not corroded. |
| Winding Short / Grounded Motor | Full Replacement | Mandatory for safety and reliability. |
| Corroded Shaft / Blade Damage | Full Replacement | Avoid resonance and structural failure. |
Preventive Maintenance & Monitoring
Adopting a proactive approach can reduce failure rates by up to 30%. Suggested tasks:
Routine Schedule
- Moderate Risk: Seasonal inspections.
- High Risk: Monthly amp and vibration scans.
- Tasks: Blade cleaning, terminal tightening, and capacitor verification.
Alarm Thresholds
IF (VibrationTrend == RISING) -> INSPECT
IF (StartCount > Threshold) -> MONITOR
Executive Summary
- Targeted Diagnostics: Combining electrical checks with vibration scans detects degradation early, preventing secondary compressor failure.
- Proactive Replacement: While field repairs are possible, mechanical damage and winding issues require full motor replacement to ensure long-term fleet availability.
- Systemic Monitoring: Logging data into a CMMS and keeping verified spares (043-0251-00) on-site materially reduces outdoor-unit downtime.
